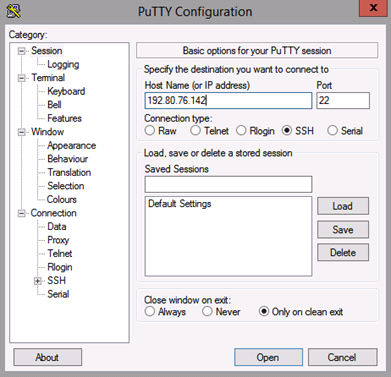
1. Connect to ASAv
Open your preferred SSH client (such as Putty or OpenSSH). Connect to the external IP of the ASAv using the administrator credentials provided by GreenCloud. Use port 22 as this is the default SSH port.
2. Save Running Configuration
Once connected to the ASAv, enter the following commands (do not type the “$”), pressing “Enter” after each line:
$ enable
[Enter the relevant password provided by GreenCloud Support.]
$ wr mem
$ copy running-config flash:/backupconfiguration
This will back up the running configuration to a file on the ASAv device. The backup can be retrieved if anything interrupts the upgrade process, which is shown in “Restore Saved Configuration” below.
3. Download New Software Image
Enter the following commands:
$ show ver | i Software Version
[Verify that the software version is older than Version 9.10.1.17]
$ copy http://static.grncld.com/ciscoimages/asa9-14-2-8-smp-k8.bin disk0:
[Press “Enter” to advance through the following prompts.]
$ verify /md5 disk0:/asa9-14-2-8-smp-k8.bin
Compare the MD5 hash with: 486e21cb9e37c9b7ec78841f2371fdb2. If the hash is correct, proceed to the next step.
![]() Note: If your ASAv version shows below 9.10 (9.9 or older), please contact Green Cloud Support to verify that your ASAv is equipped with enough RAM to complete the upgrade.
Note: If your ASAv version shows below 9.10 (9.9 or older), please contact Green Cloud Support to verify that your ASAv is equipped with enough RAM to complete the upgrade.
4. Configure Boot Statement
Enter the following commands to remove the old boot statements from the router and add new ones:
$ show run | i boot
This command should show the following response:
boot system disk0:/[old boot code]
Enter the configuration mode, remove the old boot code, add the new image, then re-add the old code as shown below. Make sure to replace “[old boot code]” with the output from the “show run” command above.
$ conf t
$ no boot system disk0:/[old boot code]
$ boot system disk0:/asa9-14-2-8-smp-k8.bin
$ boot system disk0:/[old boot code]
$ exit
Then verify that the boot order is correct by entering the same “show run” command. The response should change to include the new boot code.
5. Finalize Upgrade
To finalize the software upgrade, write the running configuration to the ASAv, then reload:
$ copy run start
$ reload
If the new code has loaded, the following command will display an output as shown below.
$ show version | include image
System Image file is “disk0:/asa9-14-2-8-smp-k8.bin”
This response indicates that the ASAv upgrade has completed successfully. Verify that the running configuration is correct and that all relevant subnets are accessible.
6. Update ASDM Software
Once the software update is complete, enter the following command to update the ASDM software (optional if ASDM is not utilized):
$ copy http://static.grncld.com/ciscoimages/asdm-openjre-7141-48.bin disk0:
[Press Enter to advance prompts until installation begins]
$ conf t
$ asdm image disk0:/asdm-openjre-7141-48.bin
$ wr mem
$ reload
After entering the command above, the ASDM image on the ASA will be up to date. As always, if any issues arise during the upgrade feel free to contact the on-call support representative at support@gogreencloud.com or (877) 465-1217.
Restore Saved Configuration
If something interrupts the update, it may be necessary to restore the ASAv’s previous configuration that was backed up in step 2. To do so, enter the following command:
$ copy flash:/backupconfiguration startup-config