DRaaS with Veeam protects critical VMs through Replication jobs. These Replication jobs transmit a whole-VM image (Disks, OS, and resource allocation) to Green Cloud’s vCloud Director environment. Before setting up Replication jobs, ensure that you have completed the
The following conditions should be met before the partner is able to set up Replication Jobs:
- Green Cloud order has been submitted
- Provisioning email has been received
- DRaaS with Veeam Provisioning Setup process is complete
- Org VDC Networks have been created in vCloud Director
- Veeam Repository has been created
- Green Cloud has been added as a Service Provider
- Veeam Backup & Replication has VMs available in the inventory
If you have any questions about the above conditions please contact your Account Manager, or Green Cloud Support.
Create Replication Job
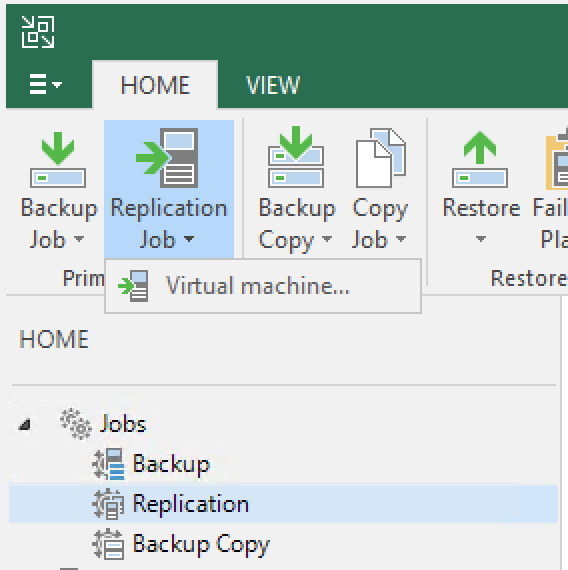
From Veeam Backup and Replication, navigate to the Home view. Select Replication Job, then “Virtual Machine…” to begin the process.
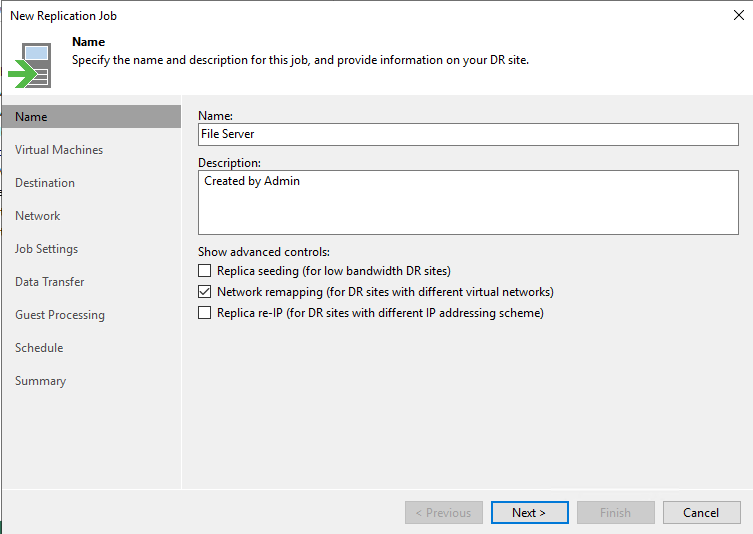
Assign a Name to the Replication Job (usually the name of the server or cluster being backed up), and select “Network remapping” in the check boxes. Then select Next.
Add VMs
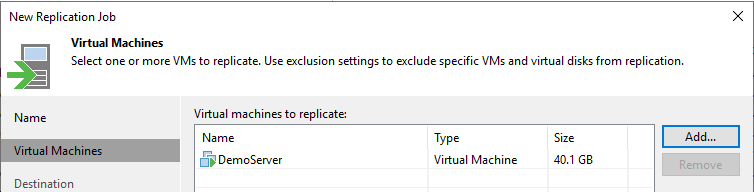
At the Virtual Machines screen, select “Add”. Search for the objects you would like to include in the Replication job, then select “Add”.
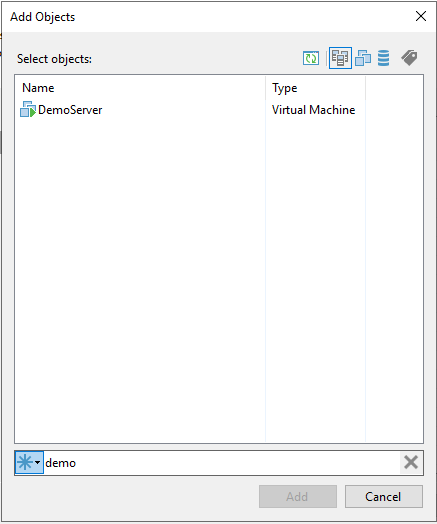
Repeat this process for any number of VMs. When complete, select “Next”.
Select Destination
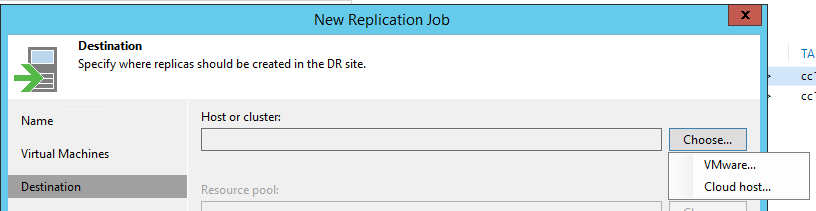
At the Destination screen, select “Choose” next to Host or cluster, then “Cloud host…” to select Green Cloud as the destination.
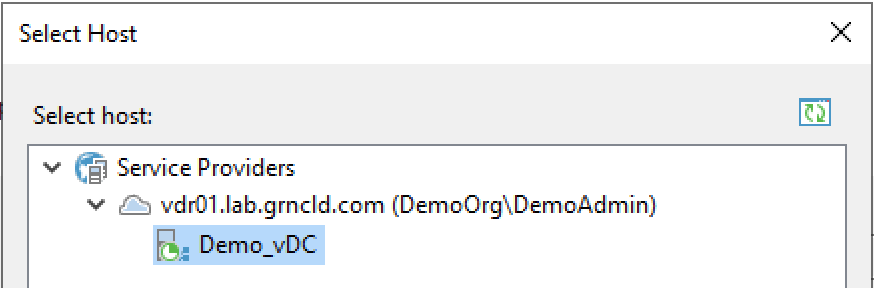
The vDC (Virtual Data Center) in vCloud Director will appear as a valid Replication destination. Select that Host and allow Veeam to load the information from it.
The Destination should appear as shown below. At this stage, if more than one Storage policy is available for that vDC, you can assign a different Storage type to the VMs protected by this Replication job (e.g., if a VM running SQL requires a higher storage tier).
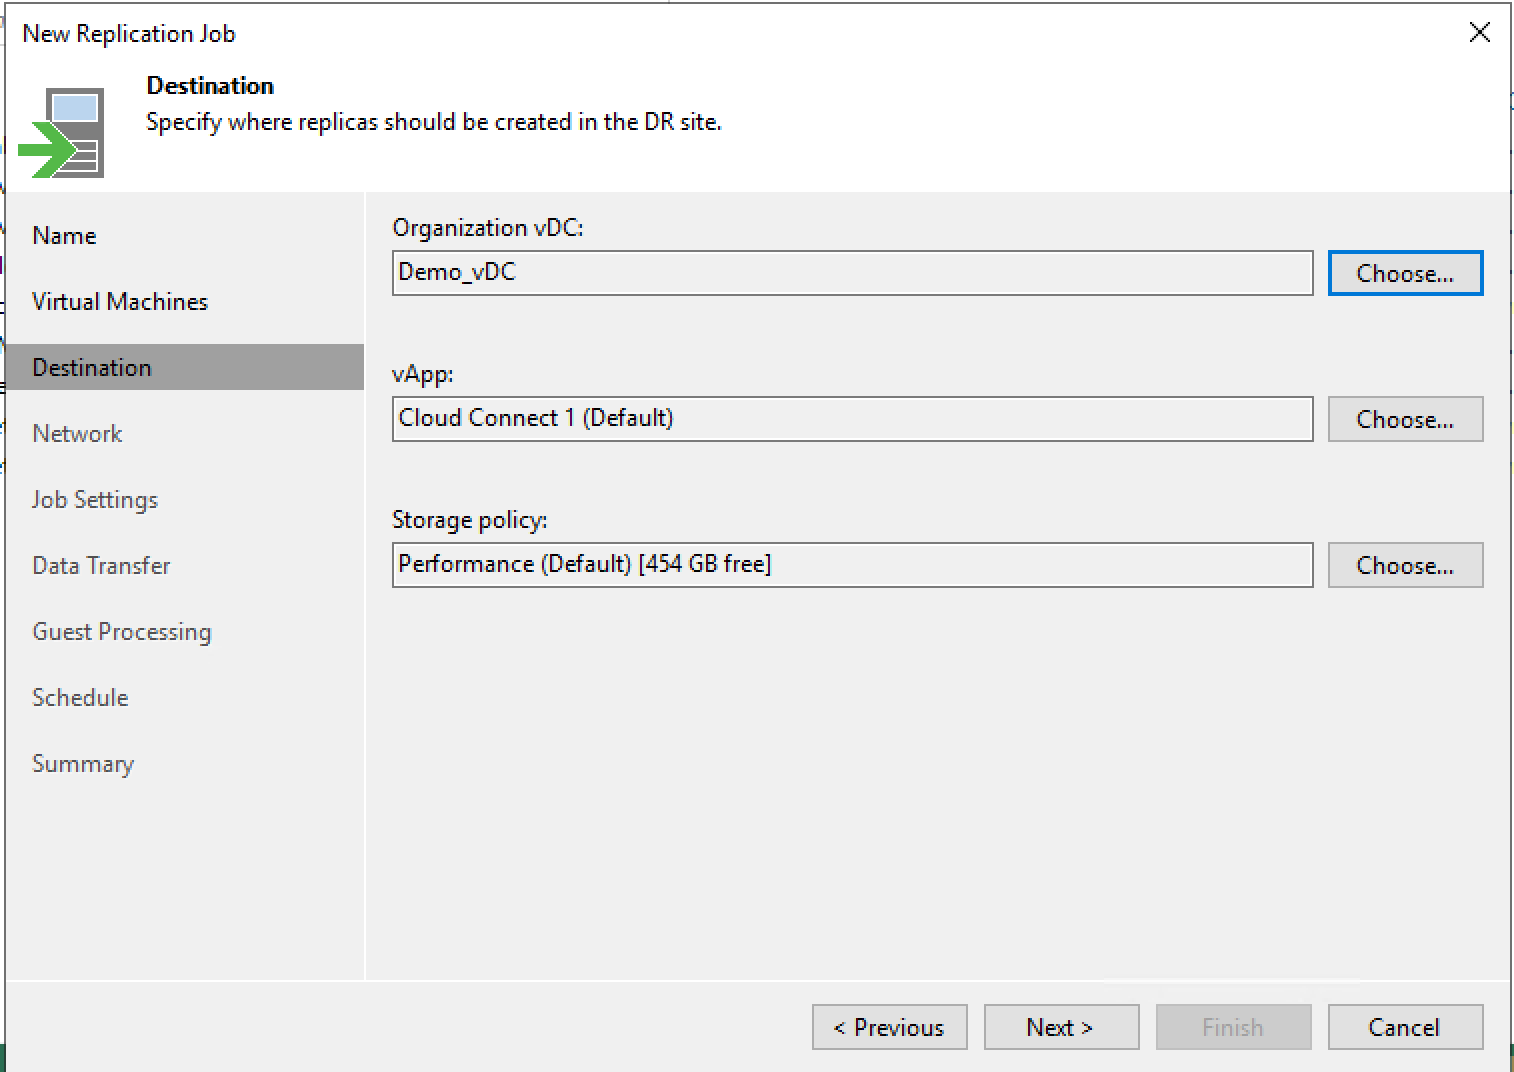
Select Next once the Destination is fully configured.
Select Destination Network
From the Network screen, select Add to view the Network Mapping dialog box.
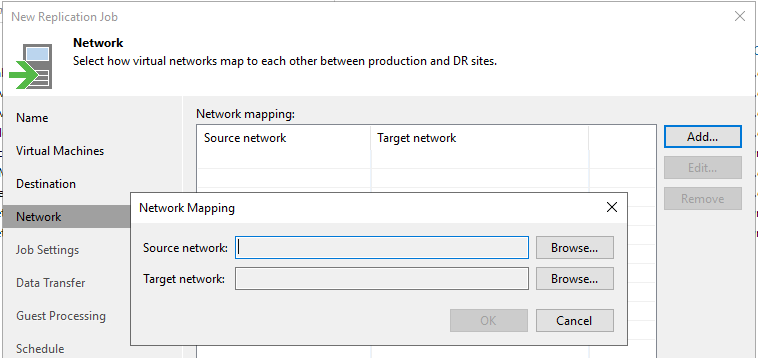
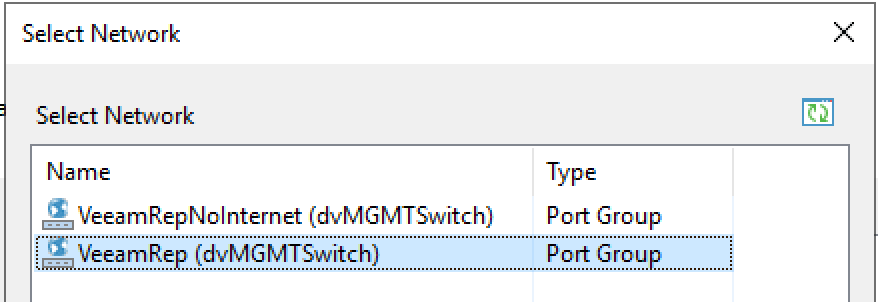
Select “Browse” next to Source network first to select the VM’s original network or Port Group inside vCenter.
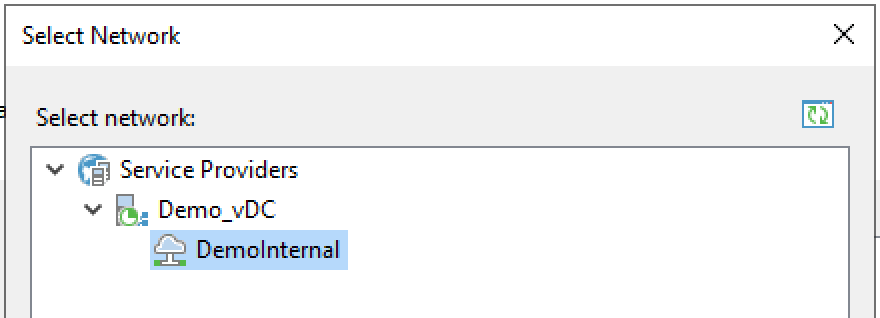
Then, select “Browse” next to the Target network to select the Org VDC network that you created in the Provisioning Setup process.
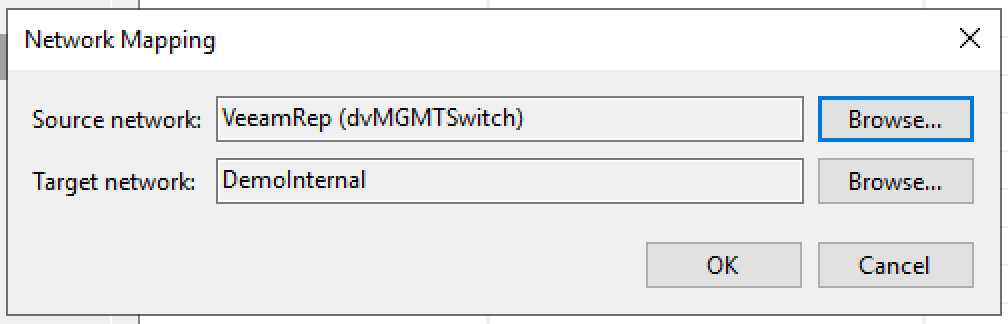
Once both networks have been added to the Network Mapping selection box, click “OK” to add the mapping to the Network screen.
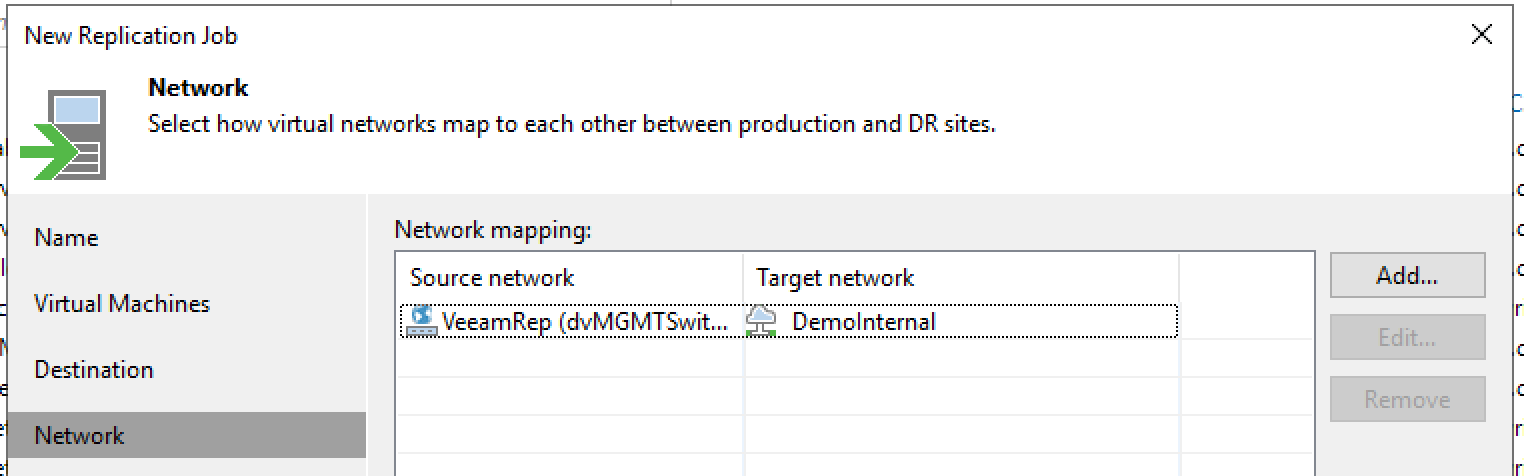
Verify that the information shown is correct, then select “Next”.
Select Local Repository and Restore Points
Make sure your local Veeam Repository is selected to store replica metadata, then select the number of Restore points to keep. This will affect the amount of Retention that is stored on Green Cloud’s repository, and higher retention may inflate the amount of space taken up on that repository. You can use a Restore Point Simulator (such as the one located at http://rps.dewin.me/) to estimate the amount of space taken up by a VMware Replica.
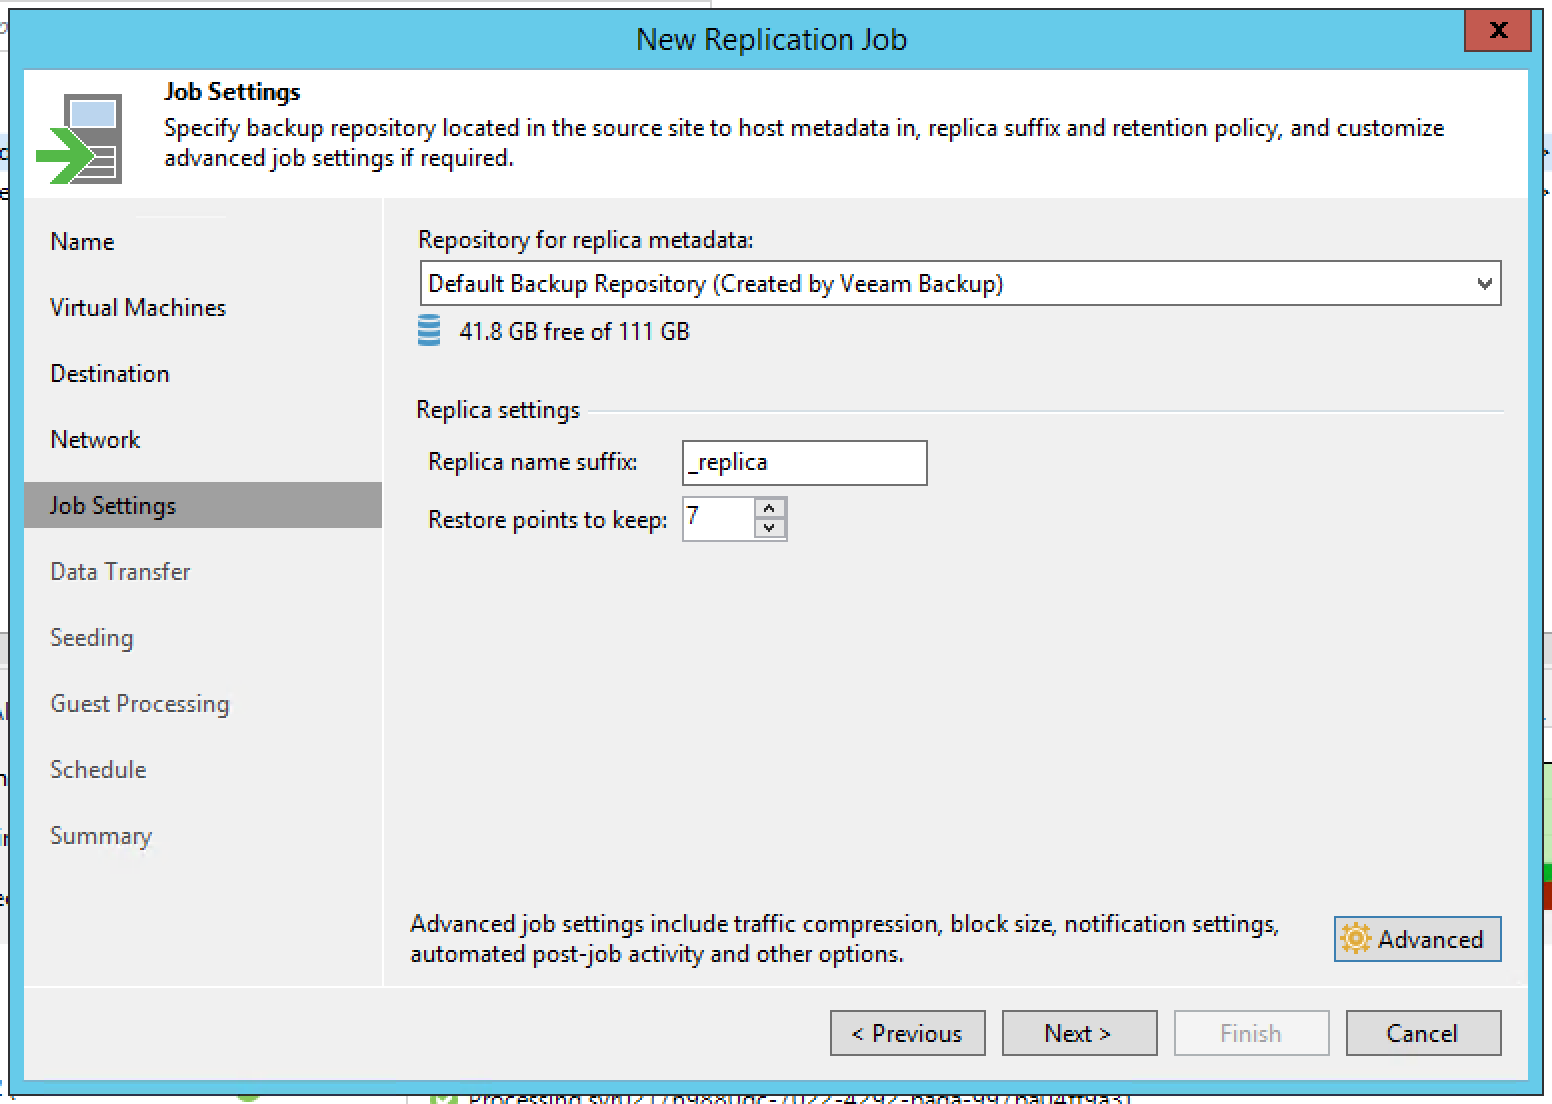
Green Cloud’s default recommended settings are to store a week of single-day backups, or 7 points. Once the job has been configured, select “Next” on this screen as well as the next two screens until the Guest Processing screen appears.
Note: This is the point at which Seeding should be enabled if necessary. Green Cloud recommends just allowing the first Replication job to run even on very large servers due to the extensive provisioning delay caused by Seeding. If a need for Seeding exists, please contact the Green Cloud technician listed on your provisioning ticket.
Configure Guest Processing
On the Guest Processing screen, select Enable Application-Aware Processing only if there is an application on the protected VM(s) that will be affected by the backup (such as Exchange or SQL). Use the Applications menu to add that application, then use the Credentials menu to add a local account on the VM with appropriate permissions (e.g., Exchange Administrator to truncate Exchange logs).
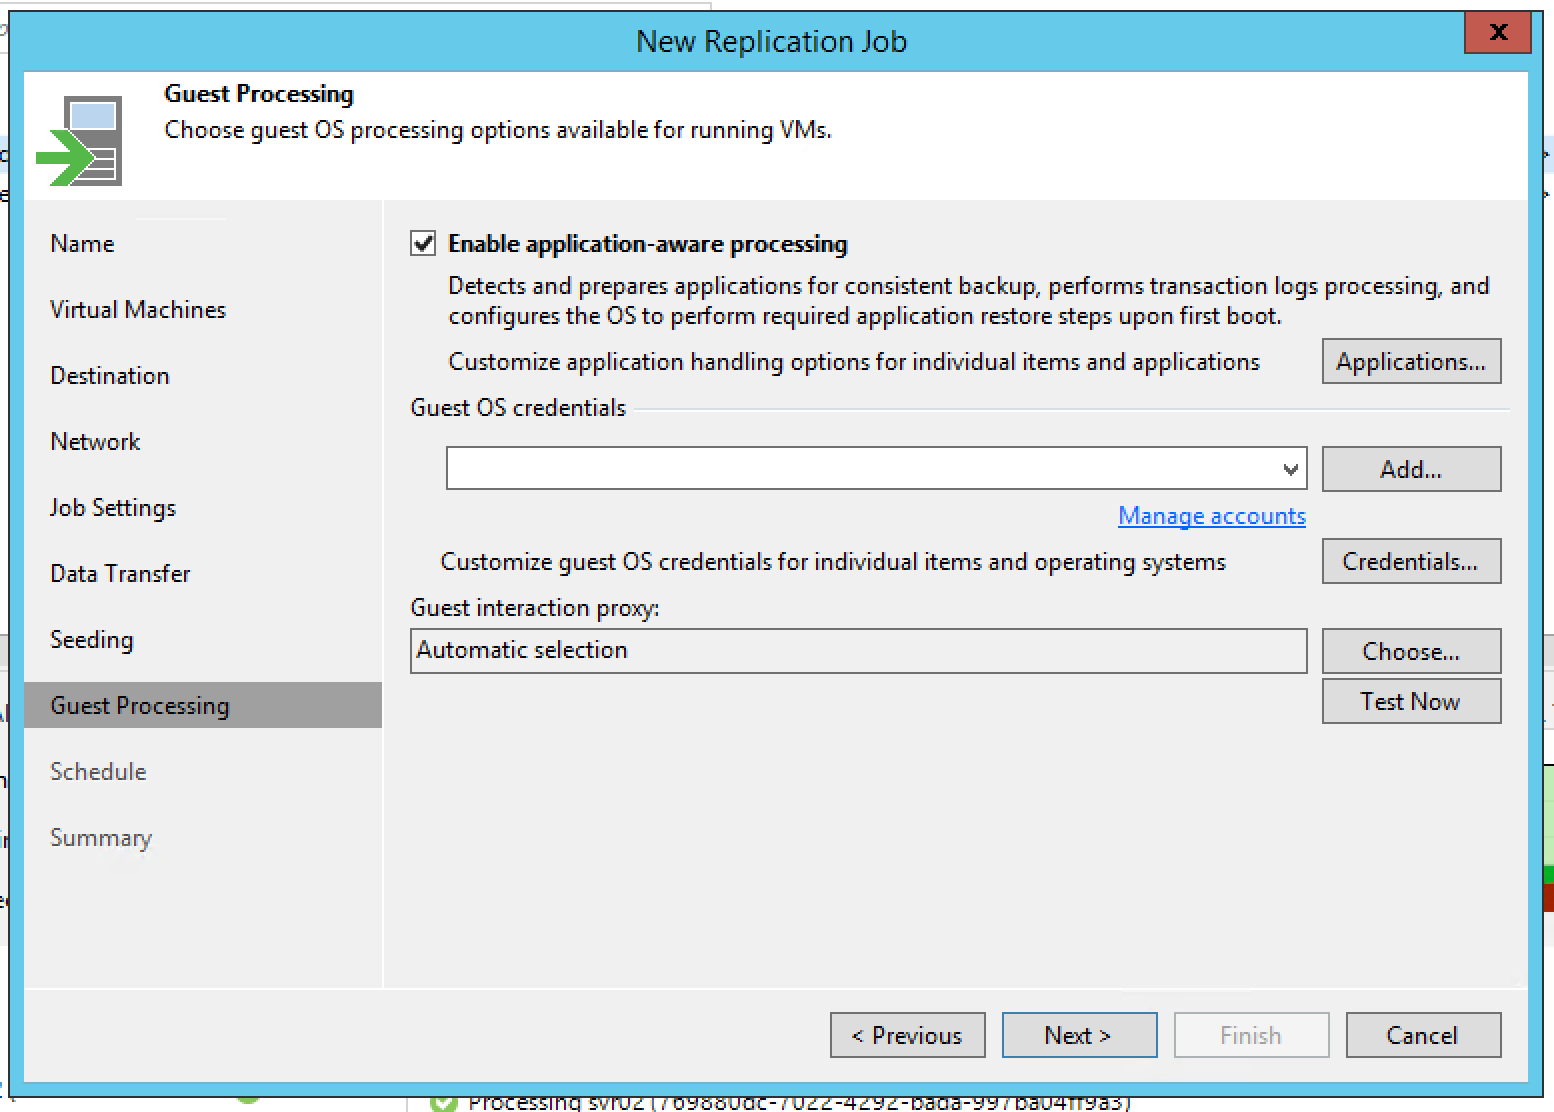
If no such application is present on the VM(s), leave this box un-checked and continue to the next screen.
Schedule Replication Job
When scheduling the Replication job, consider the amount of data lost in the event of a disaster. More scheduled backups will result in less lost data, but will also negatively impact VM performance at the time the backups are performed. Another consideration is whether or not the WAN bandwidth from the premise to Green Cloud can support replicating that much data.
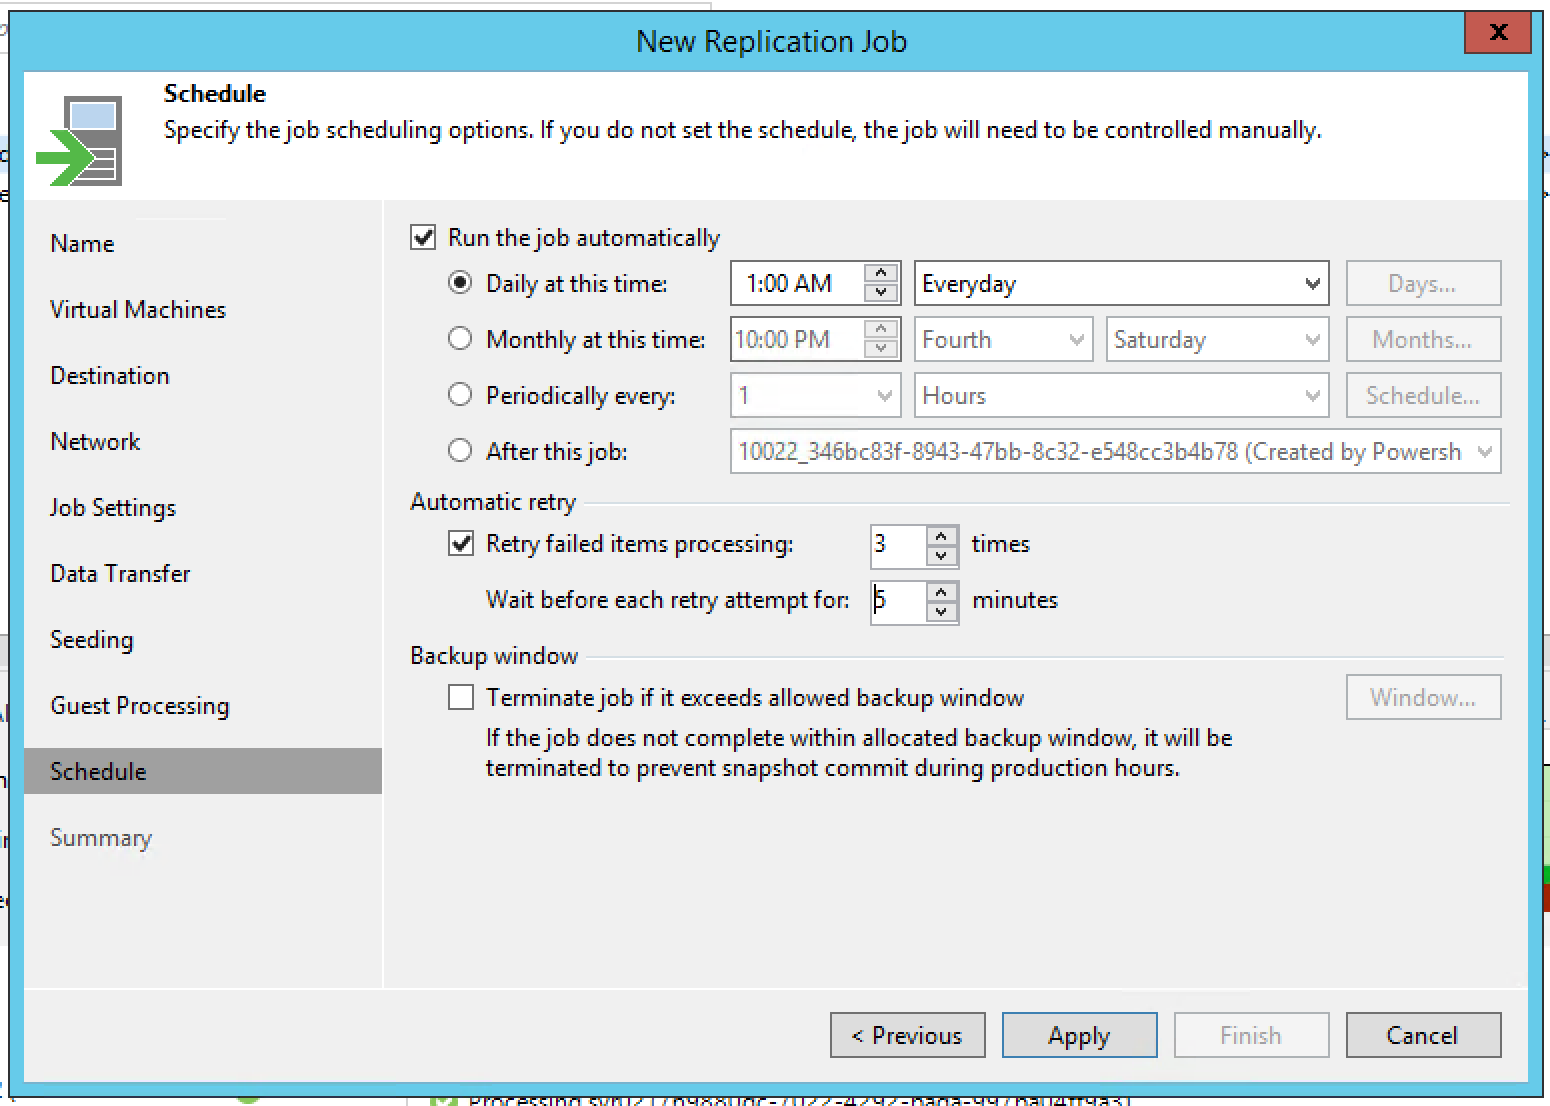
Select the appropriate schedule for your application. This can be changed at a later date if more or less protection is necessary. Once this is done, select “Apply” to create the Replication job, then “Finish” once the operation is complete. Veeam will allow the user to run the job as soon as creation is complete, or to wait until the next scheduled time.
Replication Job Setup Complete
At this point the VM will not be protected nor available for failover into Green Cloud’s infrastructure until the first Replication job runs successfully. Allow the job to complete and verify. Finally, in order to utilize the Cloud Connect Portal, you should also create a Failover Plan in Veeam.