1. Log In
Navigate to the Backup Enterprise Manager URL, and enter the username and password shared by Green Cloud staff after IaaS Backup was set up. Backup Enterprise Manager credentials can be retrieved by contacting Green Cloud support.
2. Select Server
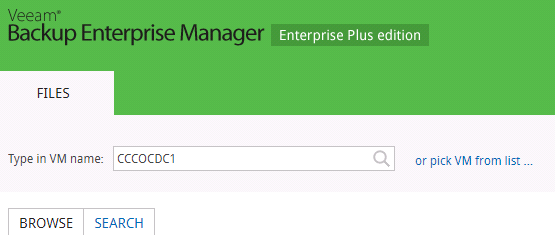
After logging in, use the search bar (or the “Pick VM from list…” menu) to select the VM from which files need to be restored.
3. Mount Backup
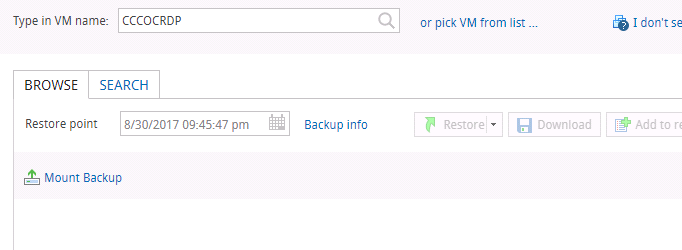
Use the “Mount Backup” button to access the backup file and begin browsing the file tree for each drive on the selected server.
4. Browse Files
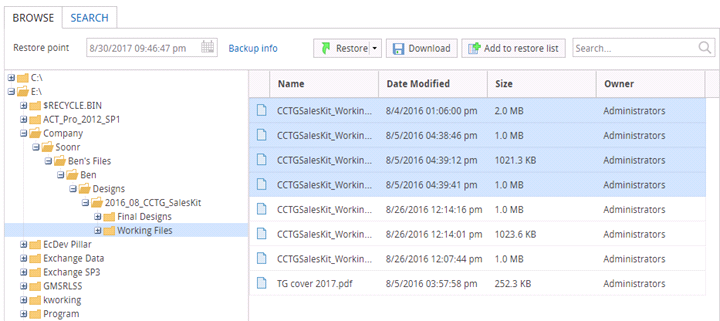
Use the file tree on the left to expand the folder structure for each drive until the desired files are found. If files are missing, try looking in another Restore Point by changing the date in the Restore Point field above the file tree, and mounting the new backup.
5. Download or Restore Files
The files found in the backup browser can either be downloaded locally, or added to the restore list and restored to the live VM. Restores can either replace any current file with the same name, or keep the file on the live VM and rename the restored files. Restored files which are renamed will have a “_RESTORED” suffix.


