Log In to vCloud Director
See Accessing vCloud Director for more information.
Add New vApp
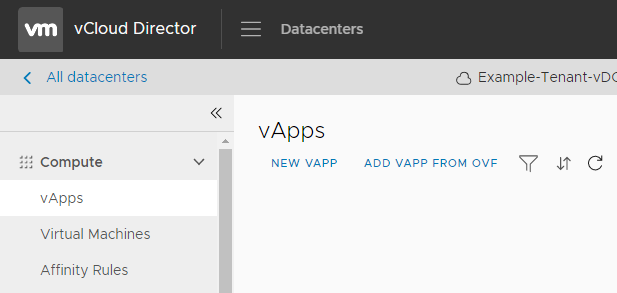
Select “vApps” under the Compute section of the left-hand navigation bar, then click “New vApp” at the top of the “vApps” screen.
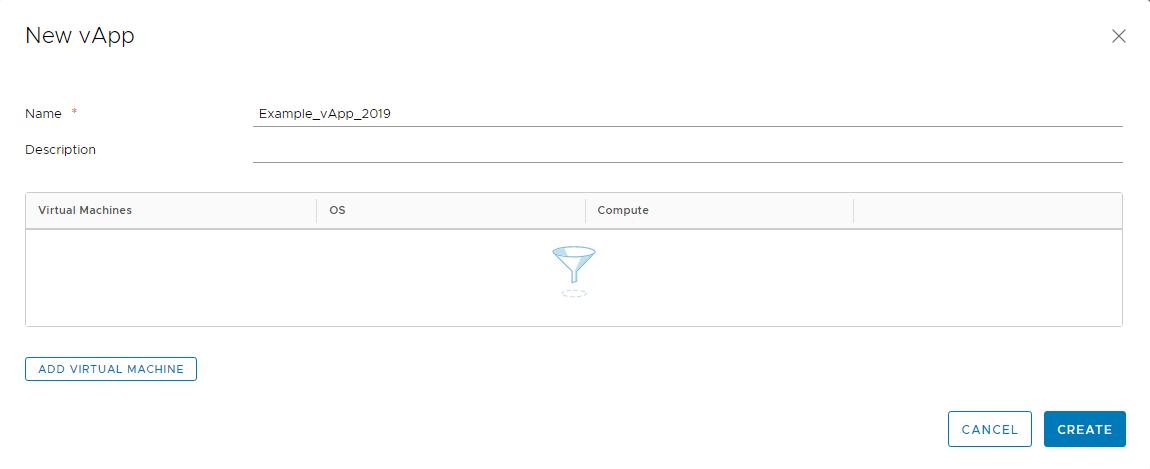
In the “New vApp” dialog, give the vApp a name, then select “Add Virtual Machine” in the lower left-hand corner.
A secondary “New VM” dialog will appear. In this dialog, assign a Name (and Computer Name) to the new VM, then select “From Template” to select a Green Cloud VM Template. Any Template available in your personal catalog or Green Cloud’s Public Catalog will appear in the Templates section.
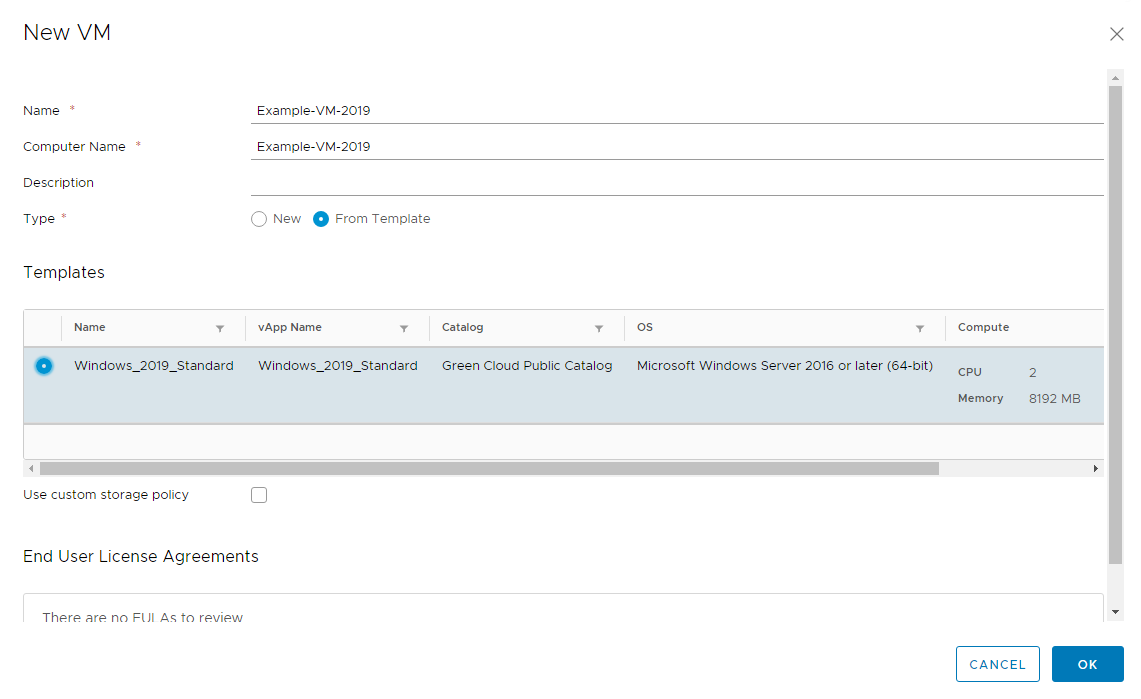
Select a Template, accept any License Agreements that appear, and select “OK”. Compute and Storage can be modified at this stage, or later once the VM has been created.
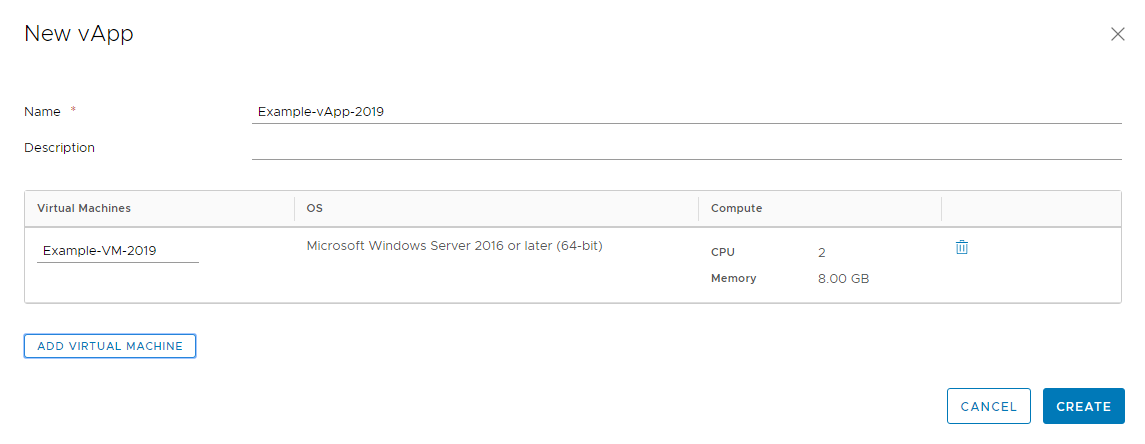
After the “New VM” dialog is closed, the VM will be added to the list of Virtual Machines within that vApp. Select “Create” in the lower right to begin the VM creation process. vCloud Director will instruct you to wait, then return you to the vApps screen. Navigate to Virtual Machines to view the newly-created VM. It will be powered off to prevent causing resource or networking issues with existing VMs.
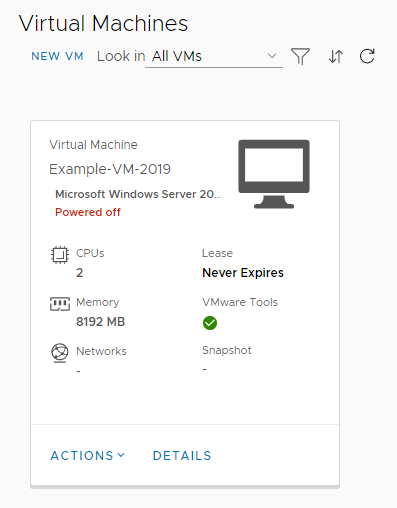
VM Creation Complete
The VM is now available for use. Please review the Guest OS Customization section of the VM Management article before powering on the VM. Also note that networking will need to be set up either through the client’s Edge Gateway or their ASAv to allow network traffic out of the VDC. If something prevents the vApp from powering on, please see the VM Management article, or contact Green Cloud support.