Veeam Agents can be backed up one of two ways: applying a Backup Policy, or creating a custom Backup Job. Before being backed up, the Veeam Agent must be managed by VAC (see Managing a Veeam Backup Agent).
Option 1 – Assign Backup Policy
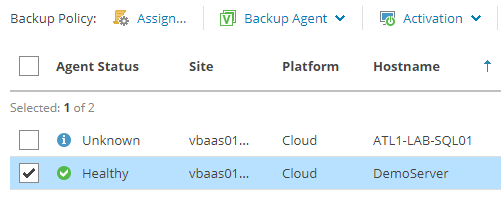
Before assigning a Backup Policy, it must be present in the list of Policies for that Company (see Backup Policy Configuration). To Assign a Backup Policy, select the Agent using the checkbox on the left, then select the “Assign…” button.
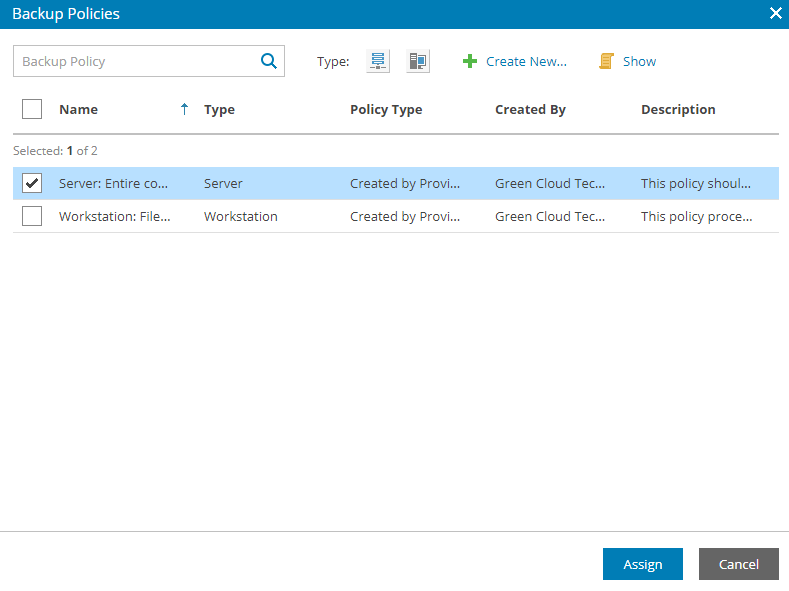
Choose a Backup Policy from the list and select Assign, or Create a New backup policy to assign the Agent.
Option 2 – Create Backup Job
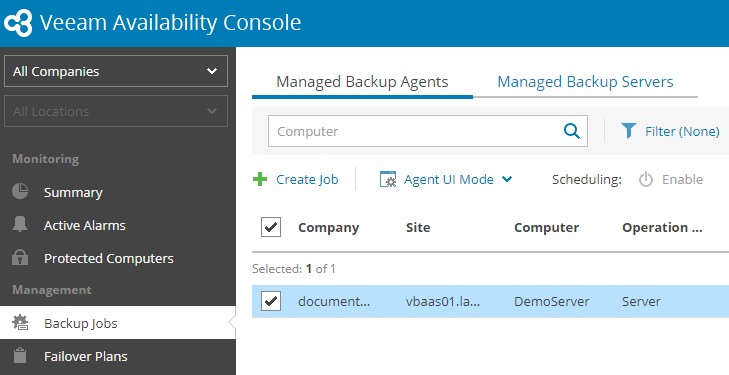
To create a custom Backup Job for a Managed Agent, navigate to Backup Jobs in the Management section. Make sure the Managed Backup Agents tab is selected, then select the relevant Agent using the checkbox on the left and click Create Job at the top.
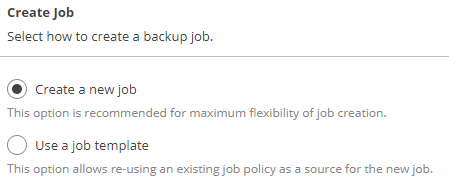
Select whether to use an existing Policy as a template, or construct a Backup Job from scratch, then enter a name for the new Job.
Next, select the Operation Mode. Note that Server has more configuration options than Workstation.
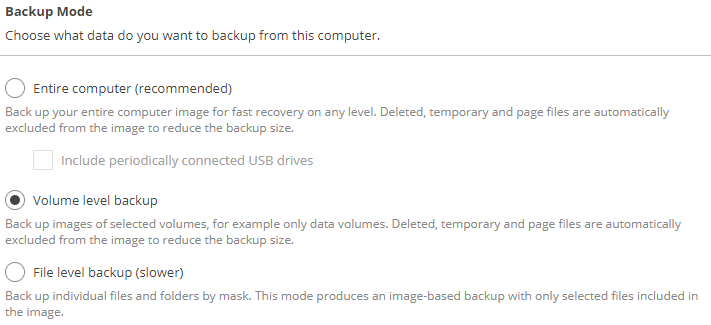
There are 3 Backup Modes: Entire Computer, Volume Level, and File Level. Entire Computer is generally recommended, since it will reliably capture the most data.
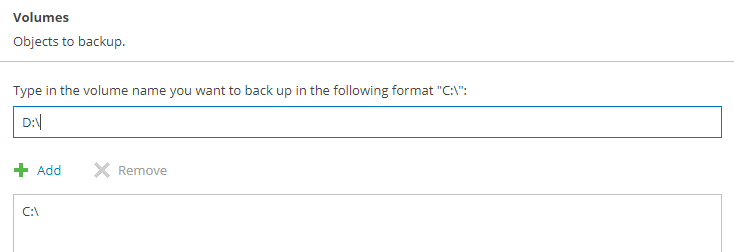
Note that Volume Level and File Level backups require an additional configuration step: choosing the Volumes or Files included in the backup.
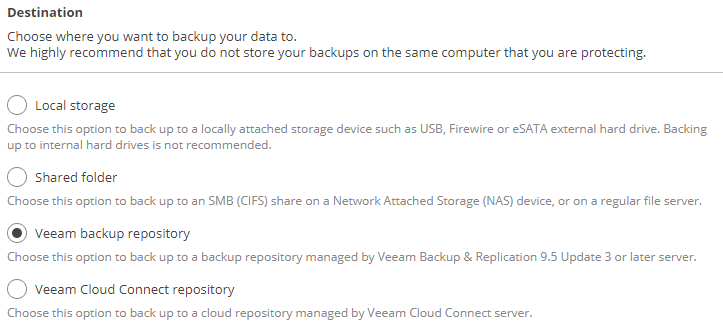
Choose the destination for the Backup Job. Veeam allows an Agent Backup to be sent straight to a Cloud Connect repository, but Green Cloud’s recommended setup is to back up to a local Veeam repository first since then the success of the backup is not dependent on WAN connectivity.
Enter the destination server’s IP or hostname and Veeam port (or the access information for the destination chosen above):
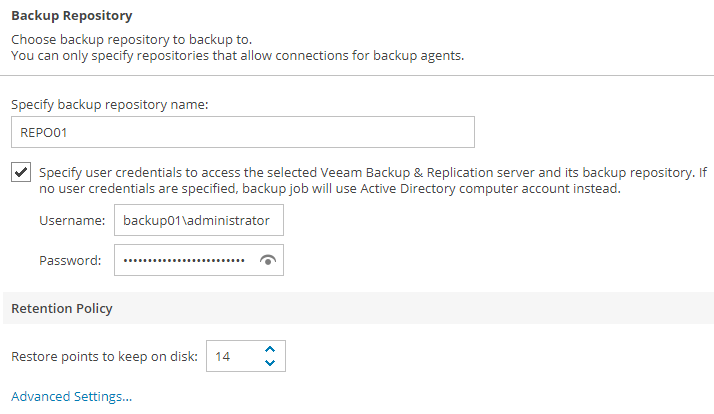
Then, enter the access credentials for the local repository as shown. Utilize the Advanced Settings menu if necessary for options like Synthetic or Active Fulls, Maintenance operations, or Image Encryption.
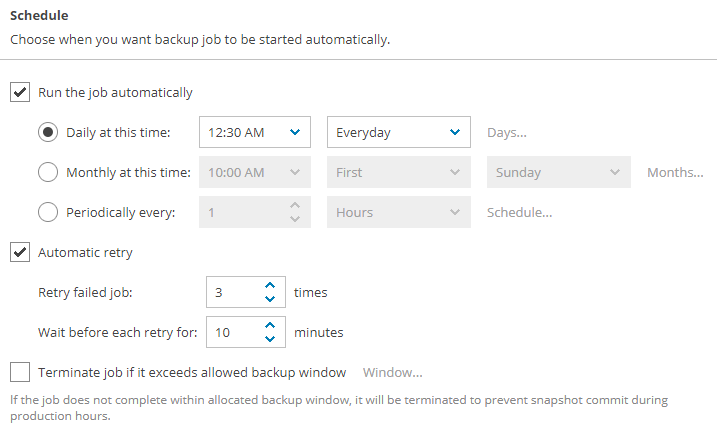
Set up a Backup Cache or Guest Processing if necessary, then Schedule the job.
Finally, validate all information on the Summary page and select Finish. The job will run as scheduled.
Manage Agent Jobs
To manually run or edit the backup job, View the Agent Jobs by selecting the link under Successful Jobs, as shown.
Then select the relevant jobs in the list. Use the action buttons at the top to manually start, stop, edit, or delete the jobs.

