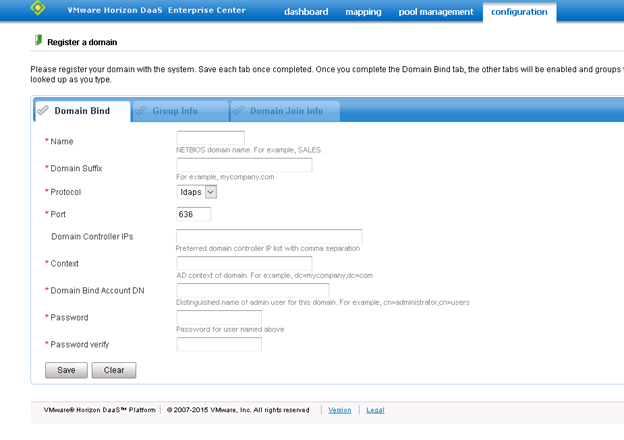
The first task to complete in the admin portal is to register a domain with the DaaS platform. This can be an existing domain or a new domain that was created. In most cases, the utility server will be an AD, DNS and DHCP server.
Prior to registering the domain, perform the following tasks:
DHCP (required)
- Confirm the IP Helper address on the firewall. Run the following command on the Cisco firewall.
- show ip helper-address
- Configure a DHCP on the utility server. The utility server is the server which is defined as the IP Helper on the firewall.
- Set scope options
- 074 IRC. Enter Tenant appliance IP addresses. Green Cloud will have provided the tenant IP addresses during the provisioning process. Typically, the addresses are .11 and .12 of your desktop subnet that was identified in the pre-provisioning process. E.g .192.168.101.11,192.168.101.12
LDAP over SSL (recommended)
- It is recommended to configure Active Directory for LDAP over SSL communication. This is the secure way to bind / register your DaaS tenant to your internal domain.
- For information on how to setup LDAP over SSL click here.
Active Directory
- Create a service account to bind the DaaS tenant to AD.
- Use a complex password and set it to never expire
- Create a service account to allow DaaS to join desktops to your domain
- Use a complex password and set it to never expire.
- Ensure this account has domain join rights in your domain policy.
- Click here for more information.
- Create an OU for desktop computer accounts to be placed by DaaS
- Create one or more user groups to assign to DaaS desktop pools.
- These users will be able to consume desktops in the pool in which they are assigned.
- Create a user group to assign DaaS admin rights.
- These users will be able to administer the DaaS tenant through the admin portal.

